Creating a Job
To run the validation in batch, you need to reopen the Data8 Validation Configuration model driven app. Here you will notice the “Batch Validation” area on the left-hand side.
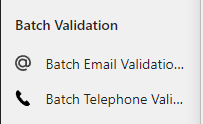
Depending on whichever type you wish to run and select that table. For the demo we will go with email.
Start by creating a new row in that table.
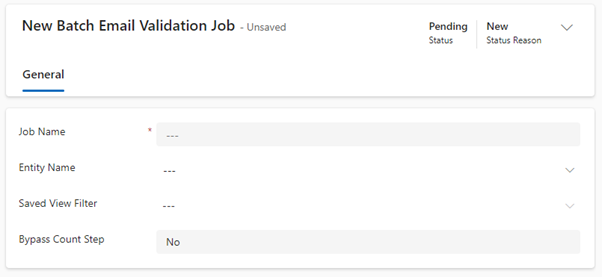
Job Name: This is a friendly name for your reference.
Entity Name: This is the logical name of the table you wish to check. Any existing mappings will be used (as defined earlier).
Saved View Filter: You may not want to revalidate all your rows – this is a saved view option to allow a subset. For example, you may have a saved view of “Unvalidated Email Addresses” so you would just type that in. If left blank, all rows will be validated.
Bypass Count Step: This can be used to skip the credit calculation step if you are happy you have enough credits.
Enter the details and save the row and you will see an alert.
![]()
This is contacting our servers to let us know of your request. Once we have picked up your job, the form will change.

A new section will also be visible showing you how many emails you have and will need to validate.
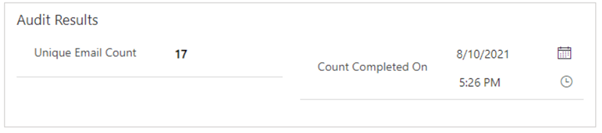
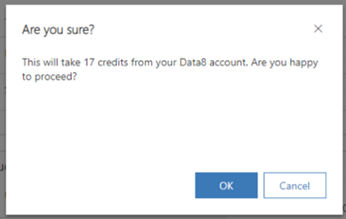
If you are happy with those values, click “Approve Count” in the ribbon. At this point, you will be asked to confirm – this is the moment you will be charged credits.
Once approved, the form will change again to let us know you want to process the complete job.
![]()
We will pick up that request and run the complete validation process.
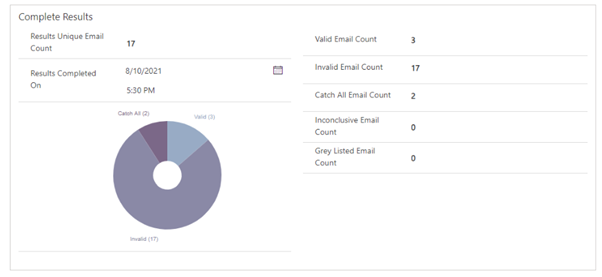
![]()
Once complete, a final new section will be visible showing your top-level statistics. If you also go and look at the rows in the table, you’ll see the status fields are all now populated, as are the last checked dates (if configured).