Home » Resources » How-to Guides » Dataverse & Dynamics 365 Installation Guide » TPS Compliance Hub » TPS Compliance Installation Guide » TPS Compliance Configuration
TPS Compliance: Configuration
Field Configuration
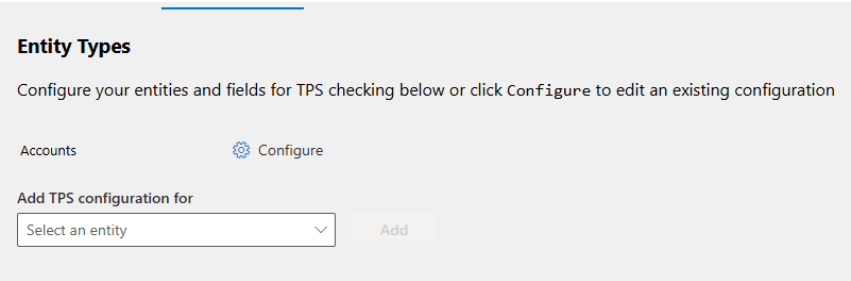
To add a custom configuration, you will need to select the table. If you have configured TPS or CTPS for at least one column in a table, the table will be listed with a “Configure” button. If not, click to “Add a TPS configuration for” and select the relevant table. Either pressing “Configure” for existing or “Add” for a new table will take you to the same page.
After selecting to add a new configuration or an existing configuration, you will see a list. The basic idea is to map a telephone column to a status column and assign a relevant icon in order to display it in a friendly manner on the form.
Under “Add New Mappings”, the following are your options:
- Source Field – This is the column that contains the phone number you with to TPS/CTPS check
- Target Field – This is the column you will store the TPS/CTPS. This field must be defined using the existing choice “data8_tps_status”.
- Icon – This is the Office UI Fabric Icon you wish to show in the grid. For more information, please refer here: https://uifabricicons.azurewebsites.net/
You also have some more advanced settings to set on this page.
- TPS Override Lookup – If you are storing your TPS overrides within your system, this is the lookup column to the related row. Any lookup column that is a lookup of type “data8_tpsoverride” will appear in this list. The “TPS Override Lookup” column is optional.
- Last Checked Date – The last checked date is a date time column that just stores the last time this row was TPS/CTPS checked through the Data8 batch tool. Any date time column will be selectable here. The “Last Checked Date” is optional.
Setting up how to View TPS and CTPS Status
Included within the Data8 TPS solution is an easy way to visually see all TPS and CTPS statuses from any form by using a custom control.
You will need a column on the form that is unused – you could either make a new column or select an unused column. The value of this column will not be used but due to the nature of the control and how it displays data from a number of columns, it has to be set up in this way.
Using the classic form editor, you can assign custom controls to any column – within the TPS solution is a `TPS` custom control which can be used on a custom column to quickly show the TPS status of mapped numbers.
From here you can just save and publish your form.
Security Roles
We recommend any of your users who will be required to TPS check to have the “Data8 TPS User” security role assigned to their account. This will ensure they can read the correct configuration when viewing or amending a row.
Customised Configuration
Should you want to use your own methods, you can do so using the following steps.
The imported solution includes a custom entity type called “TPS Check”, found in the classic Settings section of the CRM interface, that performs the TPS and CTPS checks. You can also add it to your own model driven app.
To check a number, create a new TPS Check row, enter the telephone number to check, your Data8 username and password and select whether to check the number against TPS, CTPS or both. Save the row and the following additional attributes will be filled out:
- On TPS / On CTPS – indicates if the number was found on either the TPS or CTPS
- TPS Check Time / CTPS Check Time – indicates the time at which the number was checked for auditing purposes
- Callable – indicates if the number is allowed to be called, i.e. not on TPS or CTPS
You can perform ad-hoc TPS and CTPS queries by creating a TPS Check record manually, but it is recommended that you set up automated workflows to perform these checks automatically as required by the business processes.